This is more than likely the easiest, fuss free nail design I have done to date. Truthfully, I attempted another design prior to this that was an epic fail, so I played around with designs until I came up with this one. I am pretty pleased, you can swap the colors and make Cheetah print nails, or throw some glitter polish to add more of an edge. The good thing about this quick mani is that you don't have to be good at drawing to nail this design, all you need is a steady hand.
You Will Need:
Base Coat
Main Nail Color [I used Done Out In Deco - OPI]
Darker Accent Color - For larger spots [I used Over The Taupe - OPI]
Lighter Accent Color - For smaller center dots [I used Java Mauve-A - OPI]
Top Coat
Small Paintbrush
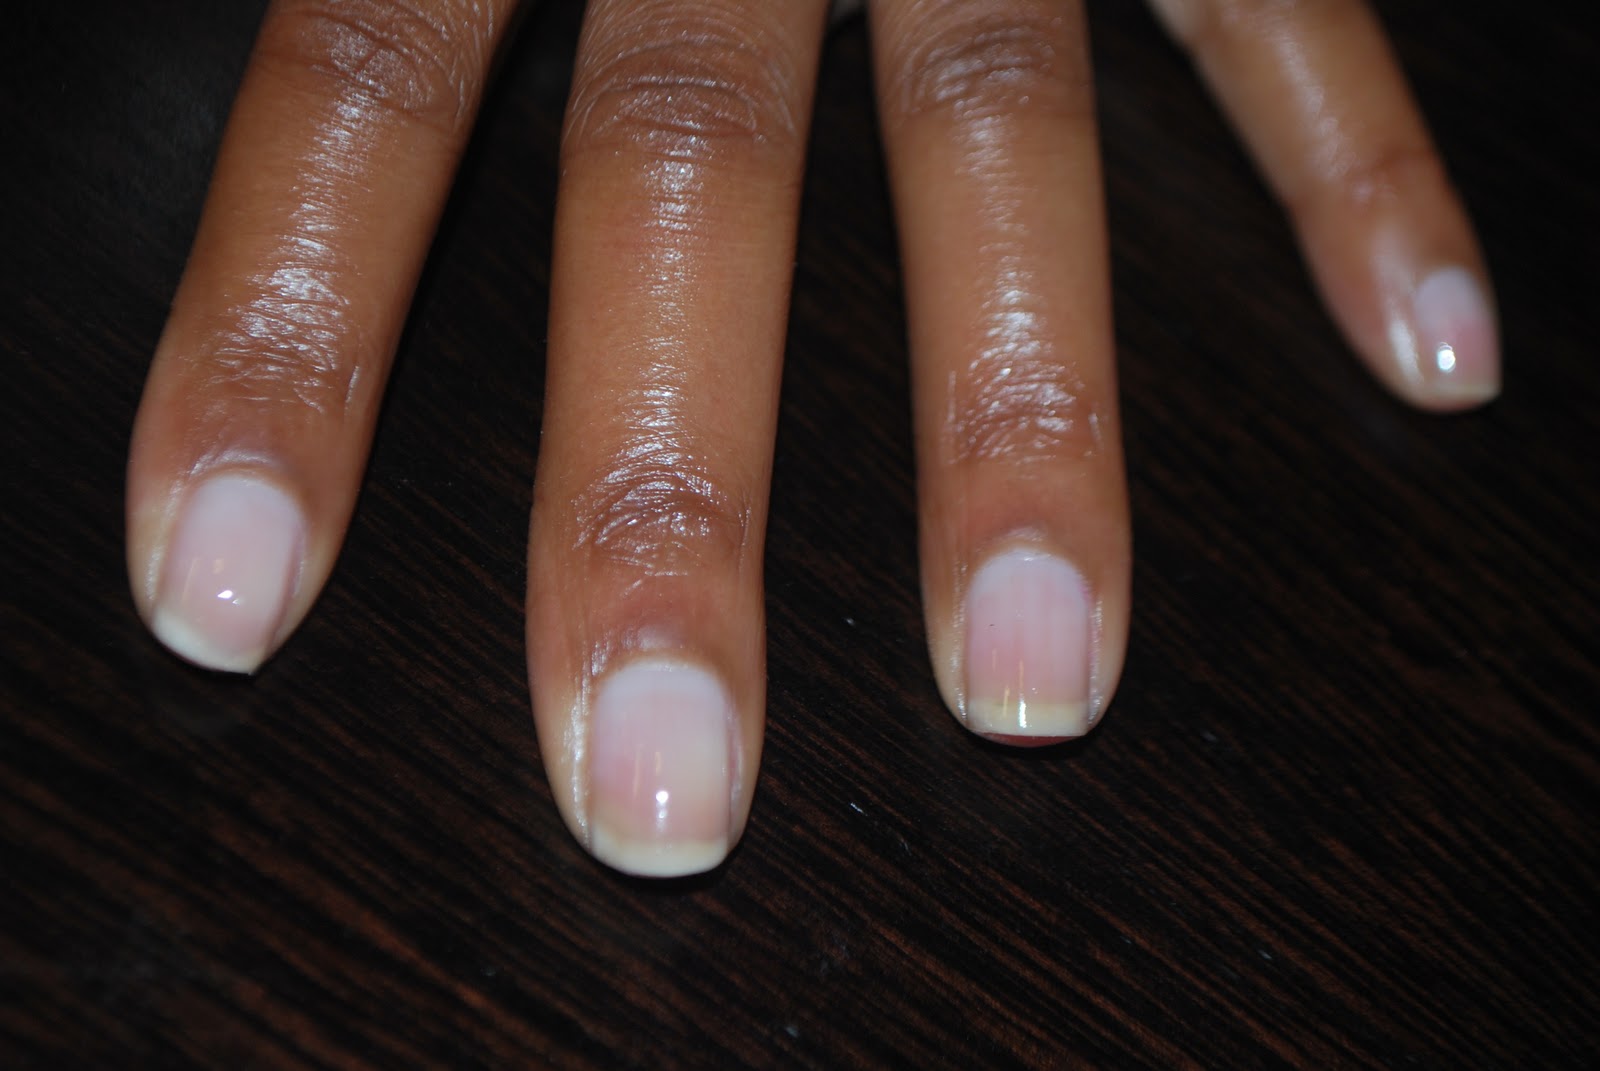
1. Paint your nails with a basecoat; my favorite is the protein basecoat from Essie.
2. Paint your nails with (1) coat of your main color
3. Using a small paintbrush, lightly apply dots of various sizes on each nail with your darker accent color
4. While the darker dots are still wet, lightly apply a smaller dot in the center of the larger dot using a lighter accent color - Allow nails to dry for 15-25 minutes, then apply a top coat!
Follow MTM on Twitter | Add MTM on Bloglovin' | Like MTM on Facebook


Adorable! I really like this idea I think I'm going to try it :) Do you think it would work better with one of those nail polish pens? Because it came out fine and you used a brush lol
ReplyDeleteThat GOOD GOOD Blog
Oh is very nice !!!
ReplyDeleteLove the nails! My sister is always doing the craziest things with her polish--I've got to tell her about this~
ReplyDeleteVery cute.
ReplyDeletecute! i need to try some of these nail DIYS. I f i can ever stop bitting mine.
ReplyDelete~L~
My latest post: When seasons change
Very cute! I'm going to give this a try, as Saturday's manicure is already chipping :-/
ReplyDeleteCute! I would definitely give this a go.
ReplyDeleteKendra
http://closetconfections.com
You always come up with the most awesome DIY ideas! Where do you find the time?
ReplyDeleteI really like the color combo of lilac and taupe. I think I will try a similar design with these colors.
ReplyDeleteThese are so pretty! Great color palette.
ReplyDeletehttp://theaudacityofcolor.com/
Really cute! I'm going to have to try this.
ReplyDeleteAwww shucks, how cute :)
ReplyDeletethis is so HOT!! i love it!
ReplyDeleteThis is so cute, reminds me of the Flinstones lol.
ReplyDeleteThis is so cute! I love the base color.
ReplyDeletehttp://collegecurlies.blogspot.com/
tooo cute! I just bookmarked this page great tutorial
ReplyDeletemissdeeplyrooted.blogspot.com
You can use a toothpick as well to make the dots or a dotter set I got my dotters off eBay about $3 has various sizes really comes in handy for designs like this.
ReplyDeleteonce youve used a small brush for ur nail design how do you clean the nail polish off?
ReplyDeleteSoooo Cute! I love it.
ReplyDeleteCheck this out. I saw it and thought of you. It's a really cool nail design tutorial. The polishes look great, too! I think I may want to try them. I do love OPI and these remind me of OPI. http://www.chinaglaze.com/nail-art/
ReplyDeletei definitely just used this page as inspiration for my nails this week...unfortunately mine didnt come out as good as yours but im working on it!
ReplyDelete