

If you haven't already noticed, I am a big fan of rosettes. However these aren't your ordinary run-of-the-mill rosettes, as the wool felt lends a structural feel to this ultra femme pillow. I came across this tutorial on one of my favorite hangouts, and I just had to do it! It actually reminds me of this lamp I made several months ago!
I've seen pillows with similar elements in high-end catalogs for more money than I can dream of shelling out for one pillow, so the fact that I could create a pillow like this for less than $10 in about an hour was pretty appealing. I used exactly one yard of wool felt from Joann's Fabric [make sure you get the wool felt, not the regular flimsy felt], and one small pillow form. If you aren't big on hand sewing, you can actually use a glue gun to form your rosettes and even glue them to your pillowcase.
You Will Need:
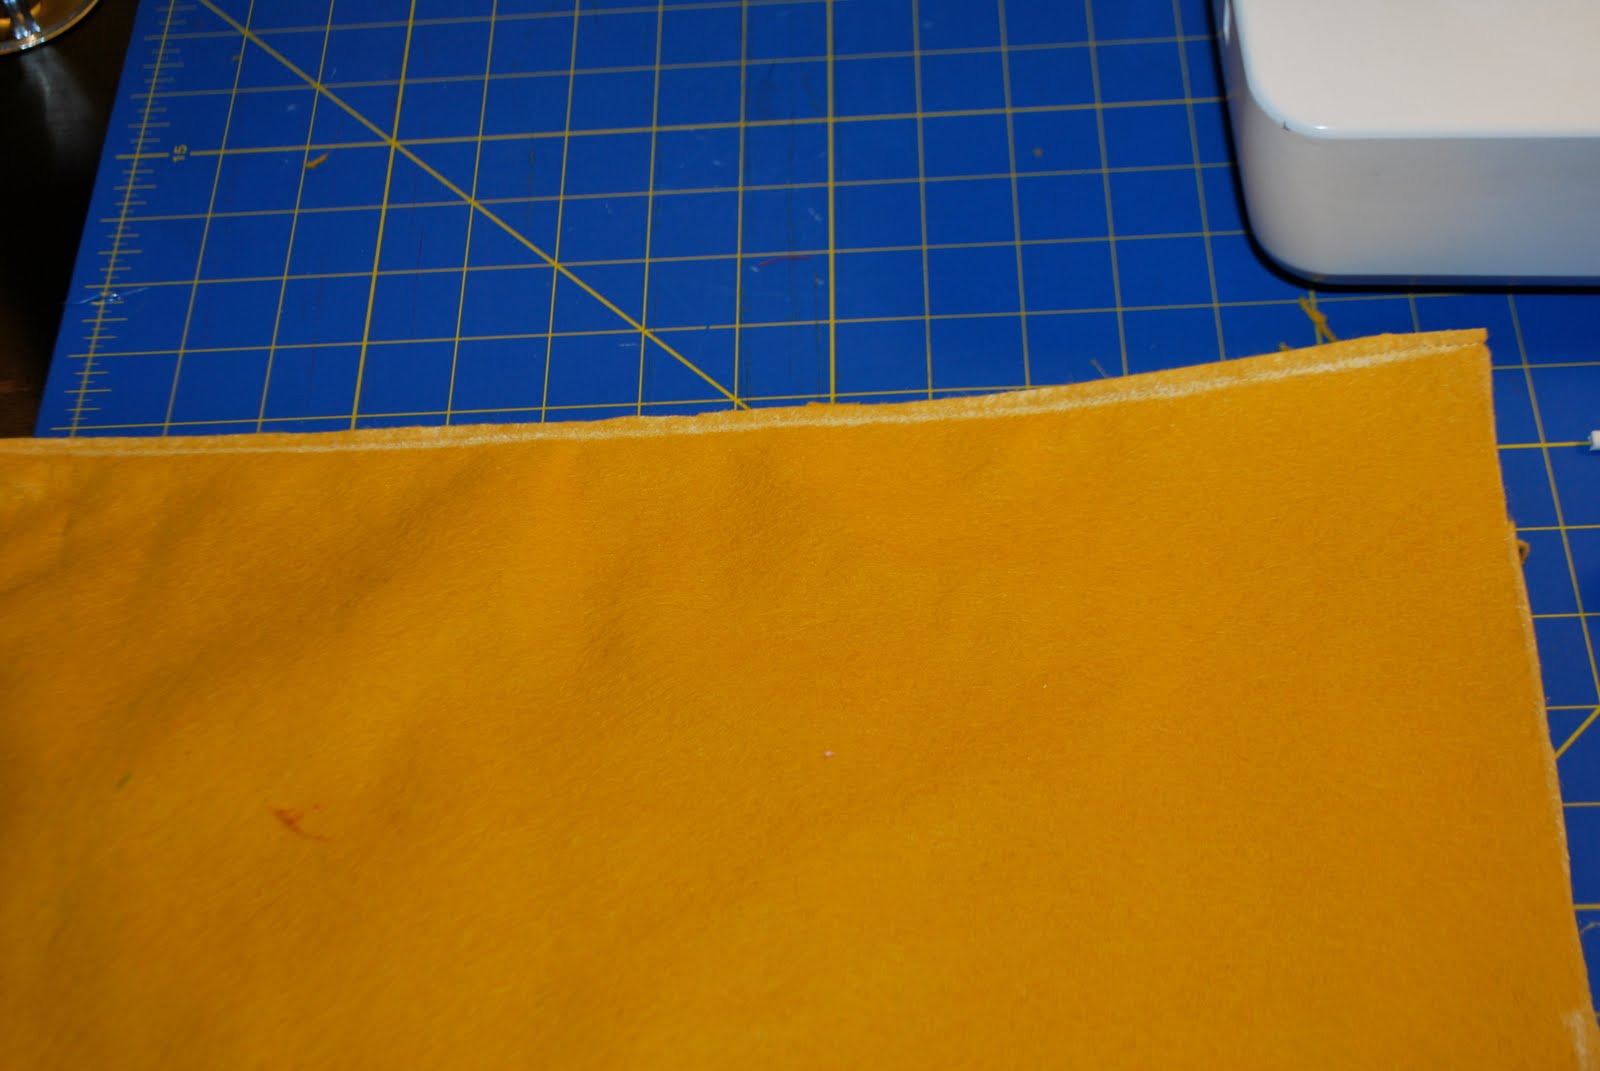
1 yard of felt [this was enough to cover a pillow that measured 10x16]
matching thread
needle
scissors
pillow form [you can even use an old pillow]
fabric pencil
ruler
glue gun [optional]
sewing machine [optional]

(1) Place your pillow form on your fabric to use as a guide for your pillowcase. You should have about a 1/2inch seam allowance around the entire pillow, I used a fabric pencil to draw a guideline. Cut two pieces of fabric for your pillowcase [each having a 1/2 inch seam allowance], one piece is for the front, the second piece is for the back.

(2) Pin the two pieces of felt right side together, and prepare to sew along the white lines [the guidelines you drew with your fabric pencil]. Leave one of the sides open so that you can insert your pillowcase, we will close the last opening at the end of the project.
(3) This is what it should look like before you turn the pillowcase right side out

(4) Cut each corner in a slanted fashion [except the corners you left open], as this will help make sharper points for the edges of your pillowcase.

(5) Turn your pillowcase right side out; this is what the corners should look like [except for the corner you left open]

(6) Now it's time to make your circles, they should be about 3 inches wide. I used a glass as a template. Cut out about 40-60 circles, it actually depends on the measurements of your pillow. I used about 45 pieces of felt on my project.

(7) As you can see, the circles don't have to be perfect! And don't worry about the white marks if you used a fabric pencil, you can easily wipe them off with your finger.

(8) To make the rosettes/ruffles, take one piece and fold it in half

(9) Fold the piece in half again!

(10) Hand sew the base of the rosette; you even secure the base with a drop of glue from a glue gun as well

(11) Draw a few guidelines down the center of the front of your pillowcase, this will help keep the rosette placement nice and centered

(12) Sew the base of the rosettes to the front of the pillowcase, group them together as close as possible. Once you finished sewing the rosettes/ruffles on to your pillow, insert the pillow form

(13) Fold the seam allowance towards the wrong side of the fabric, and pin it to hold it steady while you hand sew. With short strokes, hand sew the two sides of the pillowcase together, removing pins as you go along.

Here's the finished product!!
Follow me on Twitter | Add me on Bloglovin' |
This is ca-ute!!
ReplyDeleteVery very cute!! Gr8 idea!!!
ReplyDeleteBeautiful and I love it! Unique with a hint of femininity.
ReplyDeleteVery creative and girly! The color is gorgeous.
ReplyDeleteGreat idea!
ReplyDeleteThis is so creative. can i ask where you get your fabric from? i stay in LA and i do not know where to go get fabric to start doing my DIY things. please reply. thanks
ReplyDeleteThat is so pretty
ReplyDeleteI saw you and Lo in Essence this month! Go girl!
ReplyDeleteSo cute! How do you ever find the time!!!
ReplyDeleteAwe such a cute pillow! I love all of your DIY works on the blog but can't sew yet LOL. I'll have to send this project to my talented grandma.
ReplyDeleteDefinitely going to try this. I can't believe how much decorative pillows cost these days!
ReplyDeleteoooh, I like. If my son(14 months) stayed sleep long enough or still long enough to let me do things like this I'd have a house full of DIY projects, aside from my crochet creations.
ReplyDeleteGorgeous! I have a fascination with rosettes as well :) Love your blog, just started a diy blog of my own http://creative-safari.blogspot.com, please feel free to check it out!
ReplyDeleteWow, that's pretty. If I had the spare time I would definitely try it.
ReplyDeleteGreat tutorial for those of us that are slightly sewing impaired.
ReplyDeleteSo cute!!
ReplyDeleteVery cute and I love the shade!
ReplyDeleteMTM,
ReplyDeletePLEASE start making your DIY items available for sale in limited quantities online.
Create an Ebay store, or add a link to this site using pay pal!
On the same token, I’m sure a majority of your followers would be forever grateful if you made some of your natural beauty products available for sale online, that way when you post, we can purchase!
With that said, I would like to place an order for this pillow in coral(if you offer that), and an Ayurvedic Hair Kit (with included instructions.)
Please let me know if you offer this, or will in the near future.
qnthomas@gmail.com :)
Thanks for the inspiration!!
Q.
Very pretty that is one, I saw you on essence magazine with your friend. Love the natural hair of course. I felt I know you. I was showing my friend. Pretty of course. It seems we know each other from our past life. www.bestlifeyoga.blogspot.com
ReplyDeletePretty!
ReplyDeletei read that you have a child. can you do some posts on caring for a childs hair, or any hairstyles that are cute and easy for school and all. thanks!
ReplyDeletethis is super cute and the color is fantastic.
ReplyDeletenoise-and-ambition.blogspot.com
My friend sent me link to this page. I love your blog. So inspiring.
ReplyDeleteYou are amazing!!!! i discovered your blog and i've been hooked!!!! makes me wanna take up more DIY projects and i'm terrible at this stuff lol
ReplyDelete